 Blaine Siding
 Sandy Point Roofs Deal With More Than Just Wind
Sandy Point sits right on the water, which means the roofs out there take a different kind of beating than homes further inland in Whatcom County. It's not just the occasional windstorm blowing off the Strait — it's the constant, low-grade wear of salt-laden air, wind-driven rain that gets pushed sideways under flashing and shingle edges, and a moss season that runs longer here than almost anywhere else in the state. Any one of those on its own is manageable. Together, over years, they compound.
That's the context we bring to every storm damage call in Sandy Point. A repair that would hold up fine on a sheltered inland roof can fail early out here if it doesn't account for the salt exposure and moisture load specific to this stretch of coastline. This page is about what a correct storm damage roof repair looks like for a Sandy Point home, and why the details matter more here than in most places.
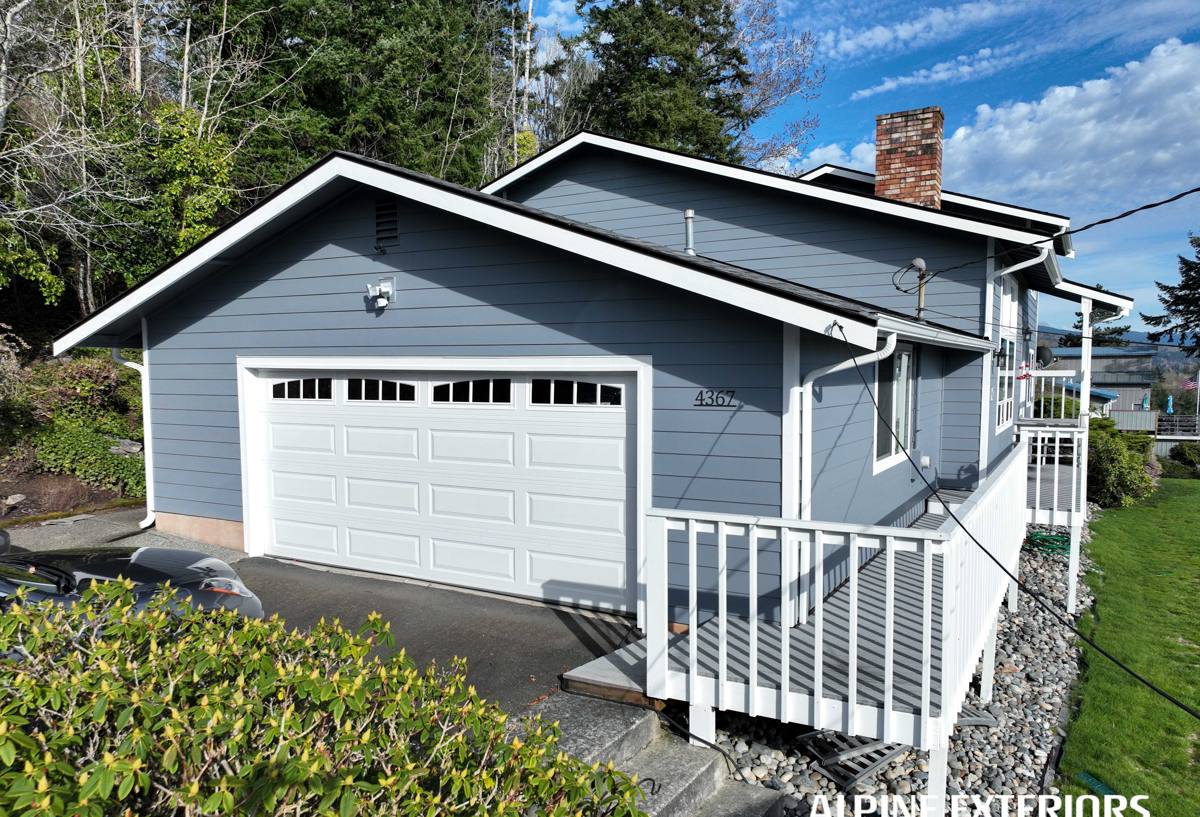
How Storm Damage Actually Shows Up Out Here
Storm damage on a Sandy Point roof rarely announces itself with a dramatic hole. Most of the time it's quieter and easier to miss, especially from ground level.
Wind-driven rain intrusion
When wind comes off the water with real force, rain doesn't just fall on a roof — it gets pushed uphill against shingle laps, under ridge caps, and into any gap around flashing. A roof that's watertight in a normal rain can still leak in a driving coastal storm because the water is being forced in a direction the roofing system wasn't designed to resist.
Lifted or cracked shingles and lost granules
High gusts can lift shingle tabs enough to break the seal strip underneath without tearing the shingle off completely. From the ground it looks fine. Up close, that shingle is now loose, and the next wind event or heavy rain can work water in underneath it. Granule loss from repeated wind abrasion is a related, slower version of the same problem — it thins the shingle's UV and weather protection over time.
Flashing and penetration failures
Flashing around chimneys, vent pipes, and roof-to-wall transitions is where most coastal leaks actually originate, not the open field of the roof. Salt air accelerates corrosion on lower-grade metal flashing and fasteners, and once a seal there fails, wind-driven rain finds it fast.
Moss-related lifting and rot
Long moss season means moss has more time to establish itself in shaded, north-facing, or debris-collecting areas of a roof. Moss holds moisture against the roofing material and can physically lift shingle edges as it grows, creating a path for water that a storm then exploits. A lot of what looks like sudden storm damage is really moss damage that a storm finally pushed past the point of holding back water.
What a Correct Storm Damage Repair Actually Involves
A rushed storm repair patches the visible symptom and calls it done. A correct one treats the roof as a system and checks everything that touches the area of concern.
- A full inspection of the affected slope, not just the spot where a leak showed up inside the house — water travels before it drips.
- Checking underlayment condition wherever shingles are pulled back, since a compromised underlayment defeats the point of a shingle repair.
- Inspecting and, where needed, replacing flashing at penetrations, valleys, and wall transitions near the repair area.
- Confirming fastener condition — corroded or backed-out nails in a salt-air environment are a common hidden cause of repeat leaks.
- Clearing moss and debris from the repair zone and surrounding area, not just the exact damaged section.
- Matching replacement materials as closely as possible in type, weight, and color so the repair doesn't become a weak point or an eyesore.
- Checking attic or interior ceiling framing near the leak for moisture staining or soft wood that needs to be addressed before it's closed back up.
Skipping any of these steps doesn't save the homeowner money — it just moves the cost of a second repair a season or two down the road.
Our Process for Sandy Point Storm Repairs
1. Inspection and honest assessment
We start with a full inspection of the roof, not just the damaged spot, and we tell you plainly what we find — including if a repair is genuinely sufficient and full replacement isn't needed. If there's a distinction between what the storm caused and what pre-existing moss or wear contributed, we explain that too.
2. A clear, written scope
Before any work starts, you get a written explanation of what's being repaired, what materials will be used, and roughly what it will cost. No surprise add-ons once the tarp comes off.
3. Temporary protection when needed
If a roof has active leaking and full repair can't happen immediately — bad weather, material lead time, insurance timing — we'll get it protected so the interior of the home isn't taking on more water while the permanent fix is scheduled.
4. The repair itself
We pull back enough surrounding material to see the real extent of the damage rather than guessing from the surface. Underlayment, flashing, and decking get addressed as needed, not just the top layer of shingles.
5. Final check and cleanup
Once the repair is done, we check the work against the surrounding roof for a clean tie-in, clear the site of debris and old material, and walk through what we did so you know exactly what was replaced.
Repair or Replace? How We Make That Call
Not every storm-damaged roof needs to be replaced, and not every roof that looks fine after a storm is actually fine. The honest answer depends on the roof's age, how much of it is affected, and what condition the rest of the roofing system is in.
| Factor | Leans toward repair | Leans toward replacement |
|---|---|---|
| Roof age | Roof is under roughly half its expected service life | Roof is near or past the manufacturer's expected lifespan |
| Extent of damage | Damage is limited to one area or slope | Damage is scattered across multiple slopes or the whole roof |
| Underlying moisture history | No prior leaks, dry decking underneath | Evidence of repeat past leaks or soft decking |
| Moss condition | Light, manageable moss with good remaining shingle life | Heavy, long-established moss with visible granule loss underneath |
| Material availability | Close match to existing shingle still obtainable | Original material discontinued, making a clean match impossible |
We'll walk you through where your roof lands on these factors and let you make the call with real information, not a sales pitch toward the bigger job.
Materials That Hold Up in This Environment
What goes back on a Sandy Point roof matters as much as the workmanship. We favor materials and fastener grades suited to salt-air exposure — corrosion-resistant flashing and fasteners over the bare minimum, and underlayment products with strong moisture resistance rather than the cheapest option available. This isn't about upselling premium products for their own sake; it's about not putting a repair back together with hardware that starts corroding again within a few years in this air.
We're also careful about how we frame material choices. Every roofing product involves trade-offs — cost, maintenance, appearance, how it handles moisture over time — and our job is to be straight with you about those trade-offs for your specific roof and budget, not to steer you toward whatever we happen to have on the truck.
Insurance and Documentation
Many storm damage repairs in this area get filed through homeowner's insurance, and we understand that process can be its own source of stress. We document damage clearly with photos and a written scope that an adjuster can actually use, and we're available to walk an adjuster through what we found on the roof if that's helpful for your claim. We won't tell you what to say to your insurer or inflate a scope to hit a number — our documentation reflects what's actually there.
Why a Local Sandy Point Crew Matters
A roofer who mostly works inland doesn't see coastal wind-driven rain patterns, salt-accelerated corrosion, or a genuinely long moss season on a regular basis. A crew that already works this stretch of Whatcom County waterfront knows what to check first, knows which flashing details tend to fail out here, and isn't guessing at how a roof in this specific environment ages. That familiarity shows up in fewer callbacks and repairs that actually last through the next storm season, not just look fine the week after.
It also means we're not learning on your roof. We've seen how Sandy Point's exposure plays out on real roofs over real seasons, and we bring that directly into how we scope and execute a repair.
After a Storm: What To Check and Do
- Look inside first — check ceilings, attic spaces, and around chimneys or skylights for new staining, dampness, or drips.
- From the ground or a safe vantage point, look for obviously lifted, missing, or torn shingles, and displaced ridge caps.
- Check gutters and downspouts for granules, shingle fragments, or moss clumps that washed loose — a sign something up top has been disturbed.
- Don't get on the roof yourself, especially right after a storm when surfaces are wet and footing is unpredictable.
- If you have active leaking, get a tarp or temporary cover arranged rather than waiting, to limit interior damage.
- Take photos of any visible exterior damage and interior water staining for your records and for insurance if needed.
- Call for an inspection sooner rather than later — minor storm damage left unaddressed through another rain event tends to get worse, not stay the same.
If a recent storm has you wondering about the condition of your roof, or you've noticed a leak, stain, or missing shingle after a windy stretch off the water, we're glad to take a look. Reach out for a free, no-pressure estimate using the form below, and we'll give you a straight assessment of what's going on and what it would take to fix it right.