 Blaine Siding
 Windows Built for Lynden's Weather, Not Just Its Looks
Lynden sits close enough to the water and the Fraser Valley wind funnel that its homes take a different kind of beating than houses twenty miles inland. Salt-laden air off the Strait works into hardware and finishes over time, wind-driven rain finds every gap in a poorly sealed frame, and the long gray stretch from fall through spring keeps wood trim and sills damp enough to grow moss and mildew if they're not detailed correctly. A window that's fine in a drier climate can fail here in half the time. Custom window work in Lynden isn't about upgrading style for its own sake — it's about matching the unit, the frame, and the installation method to what this specific stretch of Whatcom County actually does to a house.
We work on homes throughout the Lynden area regularly, from older farmhouses with settled, out-of-square openings to newer builds where the original windows were never quite sealed right at the factory. The patterns repeat: fogged double-panes, swollen wood sashes, vinyl gone brittle and yellowed from UV and salt exposure, and sills that have started to soften from years of trapped moisture behind the trim.
What "Custom" Actually Means for This Job
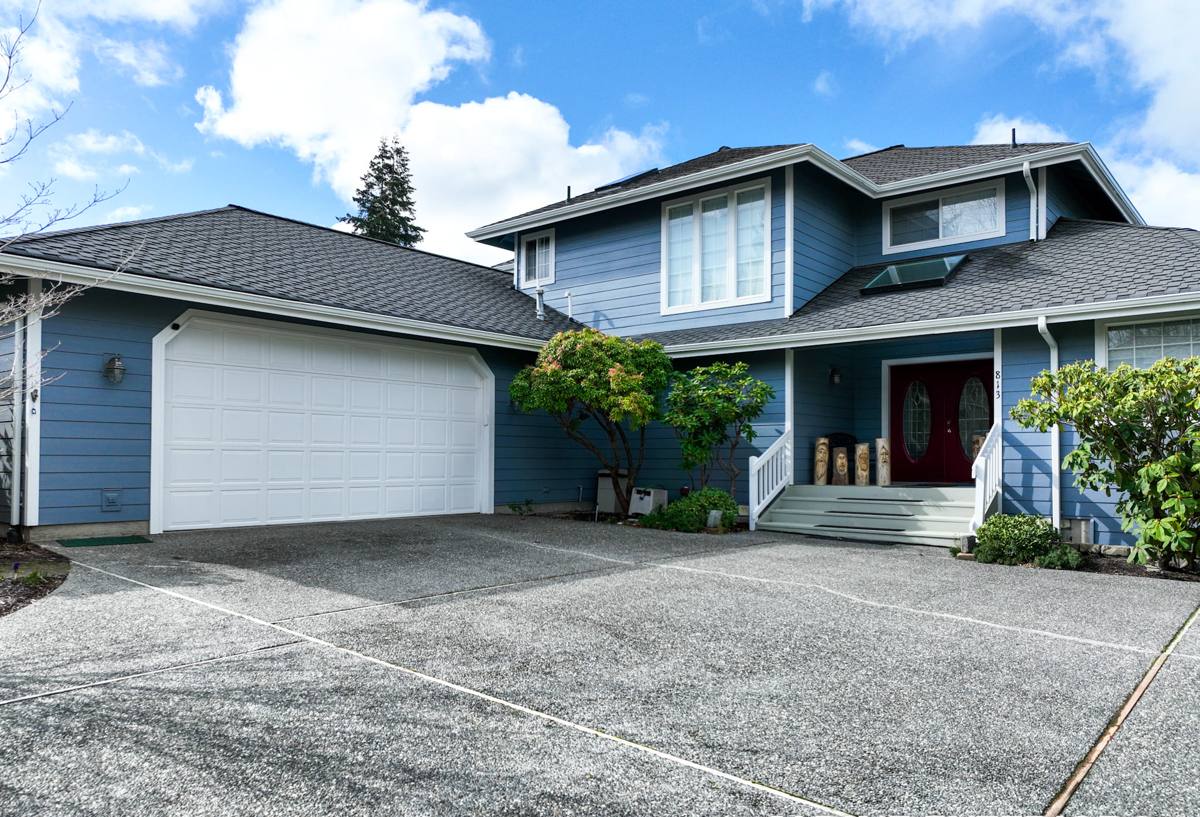
Custom doesn't mean expensive or unusual — it means the window is built and installed to fit the actual opening in front of us, not a generic stock size with shims and caulk making up the difference. Most homes in and around Lynden are older enough that wall framing has shifted a little over the decades. Doors settle, foundations move slightly, and window openings drift out of square by a quarter inch or more in places you can't see until the old unit comes out.
Where Custom Sizing Matters Most
- Older farmhouse-style homes with original wood framing that has shifted over 40-60+ years
- Additions or remodeled sections where the opening doesn't match standard window sizes
- Bay, bow, or angled windows that need to be built to the exact geometry of the wall
- Homes where a previous replacement was installed too small and packed out with excess shim and trim
- Basement or utility openings that were framed before a specific window size was chosen
When we quote a job, we measure every opening individually rather than assuming they match. That extra time up front is what prevents the gaps, drafts, and callback problems that come from forcing a close-but-not-exact window into place.
Signs Your Current Windows Are Already Costing You
Most homeowners don't call about windows until something is visibly wrong, but the damage usually starts well before that. Worth checking for:
- Condensation or fog trapped between panes — the seal has failed and the insulating gas is gone
- A noticeable draft near the frame even with the window fully latched
- Wood trim or sills that feel soft, spongy, or show dark staining
- Visible moss or green growth building up on exterior sills or the bottom of the frame
- Difficulty opening, closing, or locking a window that used to operate smoothly
- Higher heating bills in winter with no other explanation
Any one of these can be a minor fix. Several together, especially on a west- or south-facing wall that takes the brunt of driving rain, usually means the original installation or flashing has been letting moisture in for a while.
Materials and Glass Options That Actually Hold Up Here
We don't push one brand or material as universally best — the right choice depends on the home, the budget, and how exposed that particular wall is to weather. Here's how the common options compare for this climate specifically:
| Frame Material | How It Handles Local Climate | Maintenance | General Cost Tier |
|---|---|---|---|
| Vinyl | Good moisture and salt resistance; won't rot or corrode | Low — occasional cleaning | Lower to mid |
| Fiberglass | Excellent stability in temperature and moisture swings; holds paint well | Low | Mid to higher |
| Wood (unclad) | Classic look but needs real upkeep in a wet, mossy climate | High — regular sealing/painting | Mid to higher |
| Wood-clad (vinyl or aluminum exterior) | Wood interior warmth with a weather-resistant exterior shell | Moderate | Higher |
On glass, we generally recommend a double-pane unit with a low-E coating and argon fill as the practical baseline for this area — it cuts heat loss and reduces condensation risk on cold, wet mornings. Triple-pane is worth discussing for north-facing rooms or homes right along the water where wind exposure is higher, though it adds weight and cost that isn't always justified on a sheltered wall.
We're intentionally selective about unclad exterior wood trim on any window facing prevailing wind and rain. It can look great, but it demands a maintenance schedule most homeowners don't keep up with, and once moisture gets behind a paint or sealant failure, rot sets in fast in this climate. That's a maintenance-burden judgment call on our part, not a knock on wood as a material — it just needs a homeowner willing to stay on top of it, or a clad option that removes that burden.
Common Glass Package Comparison
| Glass Package | Best For | Trade-Off |
|---|---|---|
| Standard double-pane, low-E, argon | Most walls, standard exposure | Good balance of cost and performance |
| Triple-pane | North-facing rooms, high-wind or waterfront exposure | Higher cost, added window weight |
| Laminated/impact-rated glass | Ground-floor security or storm concerns | Added cost; not usually necessary here |
How We Handle Framing, Flashing, and Moisture — The Part That Actually Matters
The window unit itself is only part of the job. Most failures we get called out to inspect trace back to how the old window was flashed and sealed, not the window itself. In a climate where wind-driven rain hits the wall directly, water has to be given a clear path back out, not just a bead of caulk hoping to stop it.
What a Correct Installation Includes
- Removing old caulk, trim, and flashing fully to inspect the framing underneath for hidden rot or moisture damage
- Repairing or replacing any soft or water-damaged framing before the new window goes in — never installing over a compromised opening
- Installing house wrap and flashing tape in proper shingle-lap order so water sheds outward and down, never into the wall cavity
- Setting the window level, plumb, and square with proper shimming — not relying on the frame to force it straight
- Sealing the interior air barrier separately from the exterior weather barrier, so the wall can still manage any moisture that does get through
- Finishing exterior trim and caulk joints designed to shed water rather than trap it against the sill
Skipping any one of these steps is how a window looks fine for a year or two and then starts leaking. It's also the most common shortcut we see from lower-bid installs — the window brand gets the blame later, when the real issue was what happened around it.
Our Process, Start to Finish
- On-site assessment — we measure every opening individually and check for existing moisture damage, settling, or framing issues before quoting anything.
- Material and glass selection — we walk through the honest trade-offs for your specific walls and budget, not a one-size pitch.
- Written estimate — clear scope, materials, and timeline, so there's no ambiguity about what's included.
- Removal and inspection — old windows come out carefully, and we stop and talk to you if we find hidden rot or damage before proceeding.
- Installation — proper flashing, shimming, and sealing as outlined above, done to hold up through a full wet season, not just look finished on install day.
- Final walkthrough — we test operation, check seals, and confirm everything meets what was quoted before we consider the job done.
Why Hiring a Crew That Already Works in Lynden Matters
Window installation quality depends heavily on understanding the conditions the finished job has to survive. A crew that mostly works drier inland areas may not think twice about a trim detail or flashing lap that's genuinely optional there — but on a wall in Lynden that takes direct wind-driven rain off the valley, that same shortcut becomes a moisture problem within a couple of wet seasons. Working this area regularly means we've already seen how local framing ages, where moss tends to establish itself on sills and trim, and which details actually hold up through a full Whatcom County winter versus which ones fail quietly behind the trim.
It also means straightforward logistics — we're not adding a long drive or unfamiliar-territory guesswork into your project timeline, and we can usually get back out quickly if you have a follow-up question after the install.
Keeping New Windows Performing in a Mossy, Salty Climate
A correctly installed custom window shouldn't need much attention, but a little seasonal care goes a long way here:
- Rinse salt residue off exterior frames and hardware a couple of times a year, especially on walls facing open exposure
- Keep gutters and downspouts clear so runoff isn't sheeting directly down onto window heads and sills
- Brush moss and organic buildup off sills and trim before it holds moisture against the surface
- Check exterior caulk joints annually and touch up any that have cracked or pulled away
- Operate locking hardware a few times through the winter so it doesn't seize from disuse and moisture
None of this is heavy maintenance — it's the kind of upkeep that, done consistently, is the difference between windows that still perform well in fifteen years and ones that start showing problems in five.
Get a Straight Answer on Your Windows
If you're dealing with drafts, fogged glass, soft trim, or you're just planning ahead for a home in the Lynden area, we're happy to take a look and give you an honest read on what's actually needed — no pressure, no upsell. Use the form below to request a free estimate and we'll walk the property with you in person.