 Blaine Siding
 Roofing Along Dakota Creek: A Climate That Doesn't Forgive Shortcuts
The Dakota Creek area sits close enough to the water that homes here deal with a combination most inland Washington towns never see: salt-laden air off the bay, wind-driven rain that comes in sideways off winter storms, and a moss season that can run eight or nine months out of the year. Any one of those on its own is manageable. Together, they wear on a roof faster than the shingle warranty label usually accounts for. That's the honest starting point for this page — not fear-mongering, just what we see when we're up on ladders in this specific pocket of Whatcom County.
A shingle roof installed the same way you'd install one in Spokane or Yakima will underperform out here. The materials aren't wrong, but the details — underlayment choice, fastening pattern, flashing at valleys and penetrations, and attic ventilation — all need to be dialed in for a marine climate. That's what this page covers: what a correct asphalt shingle roof looks like for a Dakota Creek home, and why the install matters as much as the shingle brand on the wrapper.
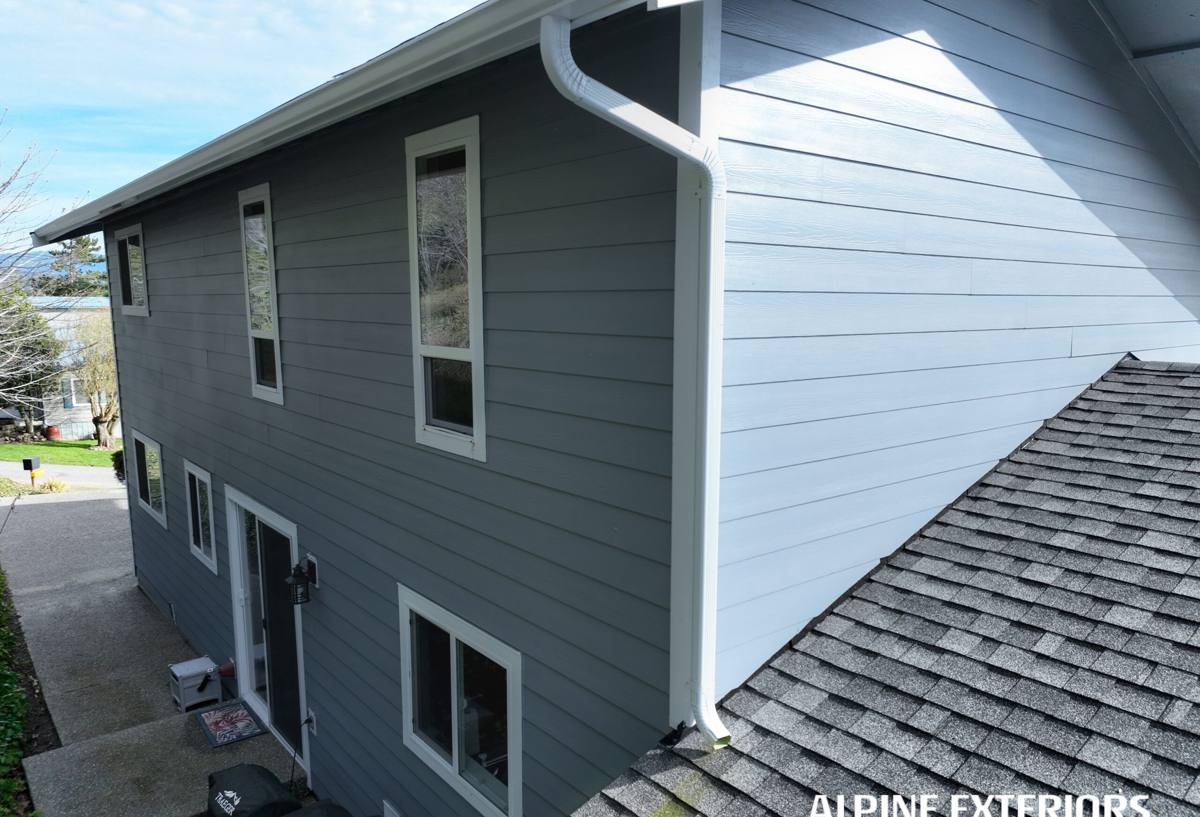
What Salt Air, Driving Rain, and Moss Actually Do to a Roof
Salt Air
Airborne salt doesn't just affect metal — though it does accelerate corrosion on exposed fasteners, flashing, and vent caps. It also settles into shingle granules and roof valleys, where it holds moisture longer than it would in a dry climate. Over years, that speeds up granule loss and softens the asphalt mat underneath, especially on south- and west-facing slopes that take the brunt of the weather coming off the water.
Driving Rain
Rain that falls straight down is easy for any roof to shed. Rain that comes in at an angle — which is normal here during winter windstorms — tests every seam, lap, and fastener on the roof. Under-driven nails, short shingle overlaps, and thin or poorly lapped underlayment are minor issues in a calm climate and real leak risks here. Wind-driven rain finds the weak point, and it usually finds it at a valley, a chimney, or a low-slope transition rather than in the middle of an open field of shingles.
Moss and Algae
Shaded, north-facing slopes and anything near overhanging trees stay damp for long stretches, which is exactly what moss and blue-green algae need to take hold. Moss isn't just cosmetic — its root structure lifts shingle edges, holds water against the roof deck, and can work granules loose over time. Left unchecked for a few seasons, moss growth can shorten the useful life of an otherwise sound shingle roof by years.
What a Correctly Installed Asphalt Shingle Roof Includes Out Here
"Correct" isn't a marketing word — it's a specific list of decisions that either get made right or don't. For a Dakota Creek home, that list includes:
- Ice-and-water shield or a synthetic underlayment rated for high-moisture climates, installed at eaves, valleys, and around all penetrations — not just the minimum code strip
- Corrosion-resistant, hot-dip galvanized or stainless fasteners, hand-checked for proper depth rather than relying on a gun set once for the whole roof
- Metal flashing (not just shingle-woven valleys) at valleys, chimneys, and wall transitions, since these are where wind-driven rain does the most damage
- Balanced intake and exhaust attic ventilation, sized to the actual attic volume, not a single ridge vent installed out of habit
- Starter strip and drip edge at every eave and rake, sealed to resist wind uplift in coastal gusts
- Algae-resistant (AR) shingle granules, which matter more here than in drier parts of the state
None of this is exotic. It's standard practice done carefully, with materials chosen for this specific climate instead of a generic spec sheet.
Our Asphalt Shingle Roofing Process
1. Inspection and Honest Assessment
We start on the roof and in the attic, not just with a drive-by look. We check decking condition, existing ventilation, flashing condition, and how much moss or granule loss is present. If a roof can be repaired instead of replaced, we say so — a full tear-off isn't always the right call, especially on a roof that's otherwise sound but has isolated flashing or moss damage.
2. Tear-Off and Deck Prep
When replacement is the right move, we remove the old roofing down to the deck. This is the point where hidden problems — soft plywood, old leaks, undersized ventilation — actually get found and fixed, rather than covered up under new shingles.
3. Underlayment and Flashing First
Before a single shingle goes down, the underlayment and flashing get installed to handle the water this climate throws at it — ice-and-water membrane at vulnerable spots, synthetic underlayment across the field, and new metal flashing at every valley, chimney, and sidewall.
4. Shingle Installation
Shingles are installed to manufacturer spec for fastener count and placement, adjusted upward in wind-exposed areas near the water where uplift resistance matters more than on a sheltered inland lot.
5. Ventilation Check and Cleanup
We confirm intake and exhaust venting are balanced before we call the job done, then do a full magnetic sweep and site cleanup. We walk the finished roof with the homeowner and point out what was done and why.
Shingle Options for a Marine Climate
Not every asphalt shingle line is built the same, and the differences matter more here than in a dry inland climate. This is a general comparison to help frame the conversation — actual product lines and pricing get discussed during your estimate.
| Shingle Tier | Typical Lifespan | Wind Rating | Best Fit |
|---|---|---|---|
| 3-Tab (economy) | 15–20 years | Lower | Budget-limited projects, secondary structures |
| Architectural (standard) | 25–30 years | Moderate–High | Most Dakota Creek homes; good balance of cost and durability |
| Premium / Impact-Rated | 30–50 years | High | Wind- and weather-exposed lots, homes wanting longer warranty coverage |
We lean toward algae-resistant architectural shingles for most homes in this area — they hold up better against moss and salt exposure than economy-tier products, without the premium price tag of the top-end lines.
What Actually Drives the Cost of a Roof Out Here
Homeowners often ask why two roofs of similar size can come in at different prices. It's rarely just the shingle brand — it's the condition and complexity underneath.
| Cost Factor | Why It Matters |
|---|---|
| Roof pitch and access | Steeper roofs and limited access (trees, tight lots) take longer and require more safety equipment |
| Number of layers to remove | Tear-off of multiple old layers costs more in labor and disposal than a single-layer tear-off |
| Deck condition | Soft or water-damaged plywood found during tear-off needs replacement before shingles go on |
| Valleys, penetrations, and roof complexity | More valleys, skylights, and chimneys mean more flashing work and labor time |
| Ventilation upgrades | Adding or correcting intake/exhaust venting is worth the cost but adds to the scope |
| Shingle tier selected | Material cost scales with wind rating, warranty length, and algae resistance |
Ventilation and Moisture: The Part Homeowners Don't See
A shingle roof is only half the story. What's happening in the attic underneath it matters just as much in a climate this damp. Poor ventilation traps moisture against the underside of the deck, which can lead to rot, mold, and premature shingle failure from below — problems that show up as a "bad roof" years later even though the shingles themselves were installed correctly. Balanced ventilation, with intake at the eaves and exhaust at the ridge, keeps that moisture moving out instead of settling in. If your attic has visible condensation, musty smell, or dark staining on the underside of the roof deck, that's worth flagging during any roofing estimate, not just ignoring until the shingles show damage.
Homeowner Maintenance Checklist
A well-installed roof still needs periodic attention in this climate. This is a reasonable seasonal checklist for a Dakota Creek homeowner:
- Look for moss growth on north-facing or shaded slopes at least once a year, and have it removed before it spreads across the field of the roof
- Keep gutters clear of debris so valleys and eaves can drain properly during heavy rain
- Trim back tree limbs that shade the roof or drop debris, since shade and debris both extend how long the roof stays damp
- Check attic ventilation isn't blocked by insulation or stored items over intake vents
- After major windstorms, do a visual check from the ground for lifted or missing shingles
- Have flashing around chimneys, skylights, and valleys inspected every few years, since these fail before the shingle field usually does
Why Hiring a Crew That Already Works This Area Matters
A roofing crew that regularly works Blaine and the Dakota Creek area already knows which slopes on a given lot tend to hold moss, how far inland the salt exposure meaningfully affects material choice, and which flashing details actually get tested by a real winter storm off the water. That's not something you get from a general spec sheet — it's from doing the work here repeatedly and paying attention to what holds up and what doesn't. It also means faster response if something needs a look after a storm, since we're not driving in from out of the county.
What to Expect From an Estimate
A proper roofing estimate should include a physical inspection of the roof and attic, a clear explanation of what's driving the price, and straight talk about whether repair or replacement is the right call. We don't upsell shingle tiers that don't fit the home or the budget, and we don't downplay ventilation or flashing work just to keep a number low — those are the details that determine whether a roof actually performs in this climate for its full expected life.
If your roof is showing moss, granule loss, or you're just due for an honest look before the next storm season, we're glad to come take a look. The estimate is free, there's no pressure, and you'll get a straight answer either way — just fill out the form below.