 Blaine Siding
 Building New in Birch Bay: Get the Windows Right Before the Siding Goes On
If you're building a new home in Birch Bay, the window package is one of the few decisions that's genuinely hard to fix later. Once the weather-resistant barrier is stapled up, the flashing is taped, and the siding crew has closed everything in, correcting a bad window installation means tearing back out finished work. On a remodel or replacement job, we're working around what's already there. On new construction, we get one clean shot to build the water management right into the wall assembly — and in a shoreline community like Birch Bay, that first shot has to account for salt air, wind-driven rain, and a moss season that runs longer than it does inland.
We install new-construction windows for builders and homeowners throughout the Blaine and Birch Bay area, and this page covers what that work actually involves here — not generic window advice, but the specifics of doing it right on a lot exposed to Whatcom County's coastline.
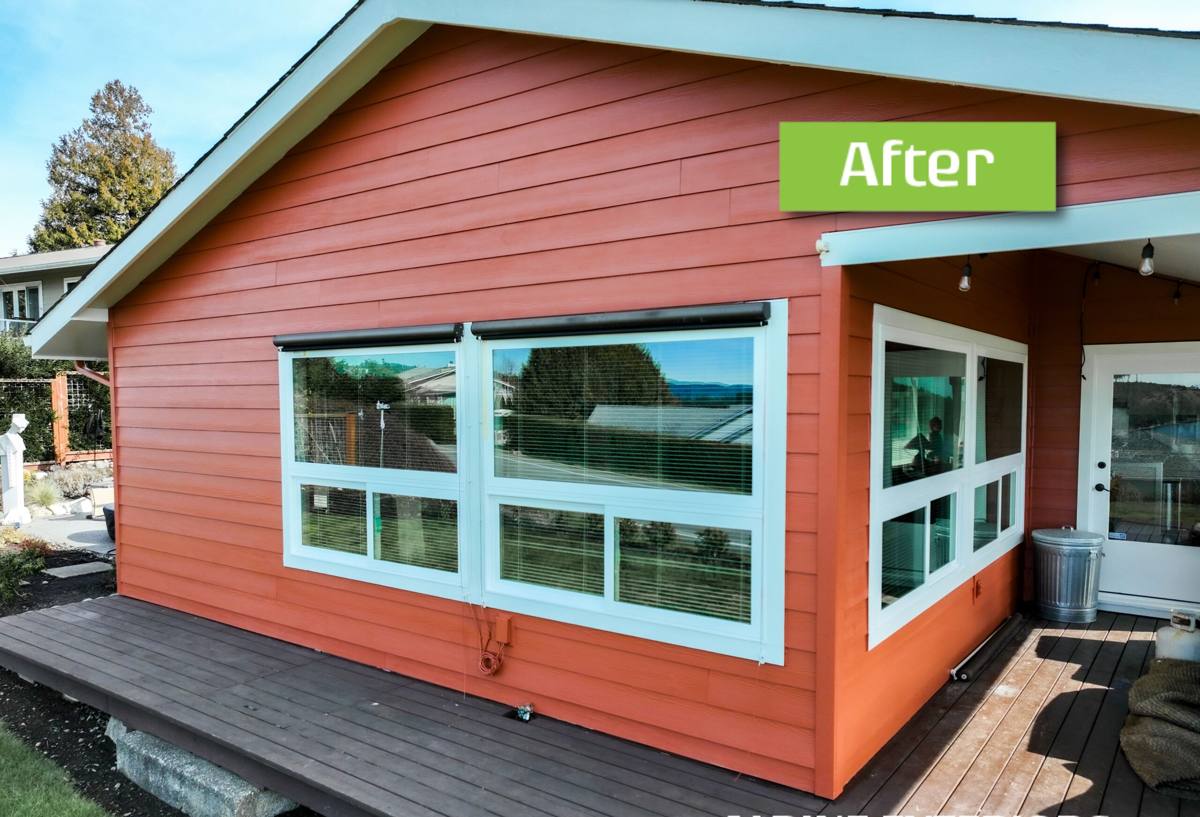
What Birch Bay's Marine Climate Does to a Window Opening
Salt air and metal components
Homes near the water deal with airborne salt that settles on every exterior surface, including window hardware, fasteners, and flashing metal. Standard fasteners and lower-grade cladding metals corrode faster here than they would a few miles inland. We pay attention to fastener and flashing compatibility on every Birch Bay build, because a corroded fastener behind the siding isn't something you notice until it's already failed.
Wind-driven rain
Storms coming off the water don't just fall — they drive rain sideways into wall assemblies, pushing water into gaps that would stay dry on a sheltered inland lot. A window opening that's only "pretty well sealed" will eventually let water in in this kind of exposure. The flashing details matter more here than they would on a protected site, and that's true whether the home sits right on the water or a half-mile back from it — wind doesn't stop at the waterline.
Moss, shade, and prolonged dampness
Whatcom County's long wet season and the tree cover common around Birch Bay properties mean north-facing and shaded elevations stay damp longer than the rest of the house. That extended moisture exposure is what drives moss and algae growth on trim, sills, and siding — and it also means sealants and finishes on those elevations age faster. We factor orientation into material choices and detailing, not just the fact that it rains here.
New-Construction Windows vs. Replacement Windows
These are genuinely different jobs, not the same product installed at a different time. On new construction, windows go in during framing, before the weather-resistant barrier and siding are complete, using a nail-fin (flanged) window that gets integrated directly into the wall's water management system. On a replacement, we're working with an existing finished opening and often a pocket or block-frame window that doesn't touch the framing at all.
That timing difference is exactly why new construction is an opportunity: we can flash the opening correctly, lap every layer of building paper or house wrap in the right shingle-style order, and never have to compromise around existing trim or siding that we didn't install. It also means our work has to sync with the builder's schedule — we're one link in a sequence that includes framing, wrap, flashing, window set, and siding, usually in that order and usually on a timeline set by someone else's crew.
Getting the Water Management Right the First Time
Most window leaks on new construction don't come from the window unit itself — they come from how the opening was flashed before the window ever went in. This is the part of the job that's invisible once the siding is on, which is exactly why it has to be done correctly the first time.
| Step | What Happens | Why It Matters in Birch Bay |
|---|---|---|
| Sill pan flashing | A sloped, sealed pan is installed at the bottom of the rough opening before the window goes in | Gives any water that gets past the window a way out instead of pooling against wind-driven rain |
| WRB integration | Weather-resistant barrier is cut and lapped in the correct shingle-style order around the opening | Prevents wind-driven rain from tracking behind the barrier into the wall cavity |
| Window set and fastening | Window is set plumb, level, and square, then fastened per manufacturer spec | An out-of-square unit stresses seals and hardware, shortening service life in a corrosive marine environment |
| Flange and jamb flashing | Flashing tape is applied over the nail fin at the jambs and head, lapped correctly with the WRB | Head flashing in particular has to shed wind-driven rain, not just gravity-fed water |
| Sealant at trim | Backer rod and sealant are applied where trim meets siding, sized for the gap and material | Salt-air exposure and shaded, damp elevations both shorten sealant life if the joint isn't sized correctly |
Skip or rush any one of these steps and the window can look perfect for years before a leak shows up — usually inside a wall cavity, where it's already done damage by the time anyone sees it.
Choosing Materials and Glass for a Birch Bay Site
There's no single "best" window for every home, but there are real trade-offs worth understanding before you order a whole house full of one product.
| Material | Strengths | Trade-offs Near the Water |
|---|---|---|
| Vinyl | Cost-effective, no painting, won't corrode | Frame can expand/contract more with temperature swings; hardware quality varies by manufacturer |
| Fiberglass | Very stable dimensionally, holds paint and finish well, strong | Higher upfront cost than vinyl |
| Aluminum-clad wood | Traditional interior look, durable exterior cladding | Wood interior needs the exterior seal to stay intact; more installation-sensitive |
| Bare aluminum | Slim sightlines, strong | More prone to corrosion in salt air without a quality finish; we're selective about where we use it here |
Hardware is worth as much attention as frame material. Look for corrosion-resistant hardware finishes on any window going into a shoreline build — a great frame with cheap hinges and cranks is a callback waiting to happen a few years out. On glass, a good low-E coating cuts glare and heat gain, which matters on west- and water-facing elevations where reflected light off the bay can be more intense than homeowners expect.
Our New-Construction Window Installation Process
- Plan review and coordination. We review the window schedule against the framing plan and confirm rough openings before the crew shows up, so there's no surprise re-framing mid-schedule.
- Opening prep and sill pan flashing. Every rough opening gets checked for square and level, then flashed at the sill before a window ever touches it.
- WRB integration. House wrap or building paper is cut and lapped around the opening in the correct order relative to the flashing.
- Window set. Units are set plumb, level, and square and fastened per manufacturer specification — not "close enough."
- Flashing tape at jambs and head. Integrated to shed wind-driven rain, not just vertical rainfall.
- Insulation and air sealing at the jamb gap. The gap between frame and framing is sealed against air and moisture intrusion without over-compressing the frame.
- Sign-off before siding. We confirm every opening is properly flashed before the siding crew closes the wall — this is the last point where a mistake is cheap to fix.
Common Mistakes We Catch on Birch Bay New Builds
Whether we're doing the whole install or being brought in to check another crew's work mid-build, these are the issues that show up most on shoreline lots:
- WRB lapped in the wrong order at the head, letting water track behind the barrier instead of over it
- No sill pan flashing, or a flat sill pan with no slope to drain water back out
- Standard fasteners used where corrosion-resistant hardware should have gone in, given salt-air exposure
- Sealant applied over dirty or damp surfaces, which fails early — especially on shaded, damp-prone elevations
- Windows set out of square, which stresses weatherstripping and hardware years before it should
- Head flashing that relies on gravity alone, with no allowance for wind-driven rain pushed uphill against the wall
Why Hire a Crew That Already Works in Birch Bay
A lot of window installation advice is written for a generic climate. Birch Bay isn't generic — it's a shoreline community in Whatcom County where salt air, wind-driven storms, and a long wet season all show up on the same job site, sometimes on the same day. A crew that's worked lots here already knows which elevations need extra attention, which hardware holds up and which doesn't, and how to sequence flashing so it actually sheds wind-driven rain instead of just handling a straight-down shower.
We also work regularly with builders and general contractors in the Blaine and Birch Bay area, which means fewer scheduling surprises and a crew that understands how window installation fits into the rest of the build sequence — not a subcontractor showing up cold to a job site they've never worked in before.
Get a Free, No-Pressure Estimate
If you're planning a new build in Birch Bay, or your general contractor needs a window subcontractor who already understands this coastline, we're happy to walk through the plans with you. Use the form below to request a free estimate — no pressure, just a straight assessment of what your build needs.