 Blaine Siding
 Building New in Bellingham Means Building for Coastal Weather from Day One
New construction gives you one real advantage over a remodel: you get to install windows correctly the first time, with the wall open and every flashing detail visible before siding or trim covers it up. In Bellingham and the surrounding Blaine area, that first-time correctness matters more than in most parts of the country. Whatcom County sits right on the water, which means salt-laden air working on metal and finishes, driving rain that comes in sideways off Puget Sound and the Strait of Georgia, and a long, damp moss season that keeps roofs, siding, and window sills wet for weeks at a stretch. A window installed with a shortcut in April can start showing problems by the following winter.
This page covers what a new-construction window job actually involves for a Bellingham-area home, what our crew checks for at each stage, and why the install method matters as much as the window brand you choose.
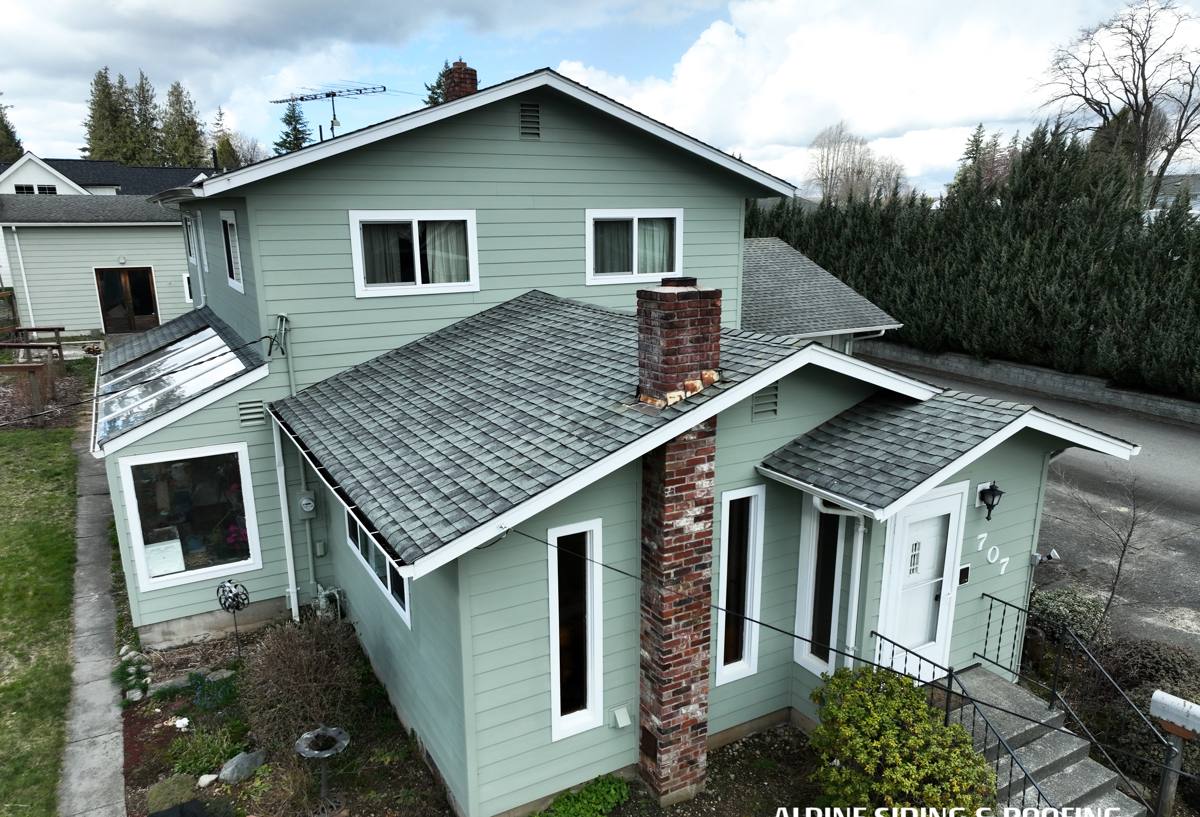
New-Construction vs. Replacement Windows: Why the Distinction Matters
New-construction windows have a nailing flange (sometimes called a nail fin) built into the frame. That flange gets integrated directly into the house's weather-resistive barrier and flashing system before siding goes on. Replacement windows, by contrast, are designed to fit into an existing opening without disturbing the siding around it — they rely on the old flashing being sound, which is a bet you don't have to make on a new build.
On a new build, we're not working around what's already there. We're setting the standard for how water is managed at every opening for the life of the house. That's a real opportunity, and it's also where a lot of the long-term moisture problems we see on older Whatcom County homes actually started — at the framing stage, years before anyone noticed a leak.
What "Correct" Looks Like at Framing Stage
- Rough openings sized and squared to the window manufacturer's tolerances, not just "close enough"
- Sill pan flashing installed under every window opening, sloped to drain outward, before the window ever goes in
- Weather-resistive barrier (house wrap) lapped correctly around the opening in the right shingle-style sequence — bottom to top, so water always sheds downward and outward
- Window flange taped or flashed on all four sides with compatible flashing tape, not just caulked
- Head flashing or a drip cap above the window to kick water away from the top of the frame
- Shims and fasteners set so the frame stays square and doesn't bow, which would compromise the seal over time
Why Salt Air, Driving Rain, and Moss Season Change the Job
Three things about this region's climate show up again and again in how we approach a window install here:
Salt Air
Homes closer to the water in Whatcom County deal with airborne salt that accelerates corrosion on exposed metal — hinges, screen frames, and lesser-grade fasteners. We pay attention to hardware and fastener quality on coastal-facing builds specifically because of this; a fastener that would last decades inland can start showing rust streaks near the water in a fraction of that time.
Driving Rain
Storms coming off the water don't just fall straight down — wind-driven rain gets pushed sideways and upward under trim and around openings that would stay dry in a calmer climate. This is the single biggest reason sill pan flashing and proper flange integration aren't optional here. A window that's watertight against a light shower can still leak under sustained wind-driven rain if the flashing sequence underneath it was skipped or done out of order.
Long Moss Season
Bellingham's damp stretches, especially fall through spring, keep exterior surfaces wet longer than drier climates. Moss and algae growth on nearby roofing and siding holds moisture against the building envelope, and that moisture finds any gap in a window's seal eventually. Getting the flashing and sealant details right at installation reduces how much that prolonged dampness can work its way into the wall assembly around each window.
Choosing the Right Window Frame Material for This Climate
There's no single "best" window for every home, but some materials handle Whatcom County's coastal conditions with less long-term maintenance than others. Here's how the common options compare for a new build in this area:
| Frame Material | Moisture & Salt-Air Resistance | Maintenance | Typical Lifespan |
|---|---|---|---|
| Vinyl | Good — won't rust or rot, some UV fading over decades | Low — occasional cleaning | 20–30 years |
| Fiberglass | Very good — dimensionally stable, resists warping in temperature/moisture swings | Low | 30–40+ years |
| Wood (unclad) | Weakest in this climate without diligent upkeep — prone to rot if seals fail | High — needs regular repainting/sealing | Varies widely with maintenance |
| Wood-clad (wood interior, metal/vinyl exterior) | Good exterior protection, but clad seams are a moisture-entry point if not detailed well | Moderate | 25–35 years |
| Aluminum | Fair — prone to condensation and corrosion near salt air unless thermally broken | Moderate | 20–30 years |
We don't push one brand or material on every job — the right call depends on the home's exposure, your budget, and how it fits with the siding and trim plan. What we do insist on, regardless of material, is a flashing and flange installation that matches the manufacturer's instructions to the letter. A premium window installed with a shortcut in the flashing will underperform a mid-range window installed correctly.
How Our New-Construction Window Process Works
1. Plan Review and Product Selection
We look at your building plans, discuss sun exposure and wind direction for each elevation, and help you pick window products that fit your budget and the home's exposure — particularly any walls facing prevailing weather off the water.
2. Rough Opening Verification
Before any window goes in, we verify every rough opening is framed square, level, and to the correct dimension. Catching a framing error now is far cheaper than discovering it after siding is on.
3. Sill Pan and Flashing Installation
Sill pans go in first, sloped to drain, followed by the house wrap and flashing tape in the correct shingled sequence around each opening.
4. Window Setting and Fastening
Each window is set plumb, level, and square, shimmed as needed, and fastened per the manufacturer's schedule — not just wherever a stud happens to be.
5. Final Flashing, Head Flashing, and Sealant
We complete the flashing above and around the flange, add head flashing where called for, and use manufacturer-approved sealant at the specific joints designed to be sealed — not as a substitute for proper flashing.
6. Walkthrough
Before siding closes everything in, we walk the openings with you or your builder so everyone can see the flashing work while it's still visible.
Cost Factors on a New-Construction Window Job
Every build is different, but a few things reliably move the price on new-construction window installation in this area:
- Number and size of window openings, and how many are larger or specialty shapes
- Frame material chosen (vinyl through fiberglass through wood-clad)
- Height and access — second-story and gable openings take longer and need more equipment
- Degree of coastal exposure — walls facing prevailing wind and rain often get extra flashing detail
- Coordination timing with your framer and siding crew — tighter scheduling windows can add cost
We're glad to walk through actual numbers for your specific plan set rather than quote in the abstract — broad per-window costs vary too much by size, material, and access to be useful without seeing the job.
A Homeowner's Checklist Before Windows Go In
- Confirm your framer's rough openings match the window manufacturer's specified dimensions
- Ask whoever is installing sill flashing to walk you through the sequence before house wrap goes on
- Verify the window flange will be integrated into the weather barrier, not just caulked over the edge
- Ask about head flashing on window elevations facing prevailing wind and rain
- Get the window warranty in writing and confirm it covers both the product and the installation
- Take photos of flashing details before siding covers them — useful if any question comes up later
Why a Crew That Already Works in Bellingham and Blaine Matters
Anyone can install a window on a calm, dry day. The difference shows up over the following winters, when driving rain off the water tests every seam. Crews who work new construction throughout Whatcom County see how homes here actually weather — which elevations take the worst of the wind-driven rain, how quickly moss and algae build up on north-facing surfaces, and where salt air tends to accelerate wear on hardware and finishes. That local pattern recognition shapes small decisions on every job: where to add extra flashing attention, which fastener grade makes sense on a water-facing wall, and how to sequence the work so nothing sits exposed to weather longer than it has to.
It also means we're not learning the local building department's expectations or a subcontractor's habits for the first time on your project. We've coordinated with framers and siding crews on builds throughout this area before, and that familiarity keeps the schedule moving and reduces the back-and-forth that can happen when a crew is figuring out local conditions on the fly.
Get a Straightforward Estimate
If you're building in Bellingham, Blaine, or elsewhere in Whatcom County and want windows installed right the first time, we're happy to look at your plans and talk through options for your specific site and budget. There's no pressure and no obligation — just a straight answer about what your project needs. Use the form below to request a free estimate.