 Blaine Siding
 Siding Repair in California Creek
California Creek sits on the exposed western edge of Whatcom County, close enough to the water that salt air, driving rain, and wind are simply part of owning a home here. That exposure is harder on siding than what homes a few miles inland deal with, and it shows up as a specific pattern of damage: fastener corrosion, moisture staining at seams and corners, and a moss season that runs longer than almost anywhere else in the state. Siding repair in this area isn't a one-size-fits-all job — it has to account for how this particular stretch of coastline treats a home's exterior year-round.
This page covers what siding repair actually involves for California Creek homes, what separates a correct repair from a quick patch, and why the material and the crew you choose both matter more here than in a calmer inland climate.
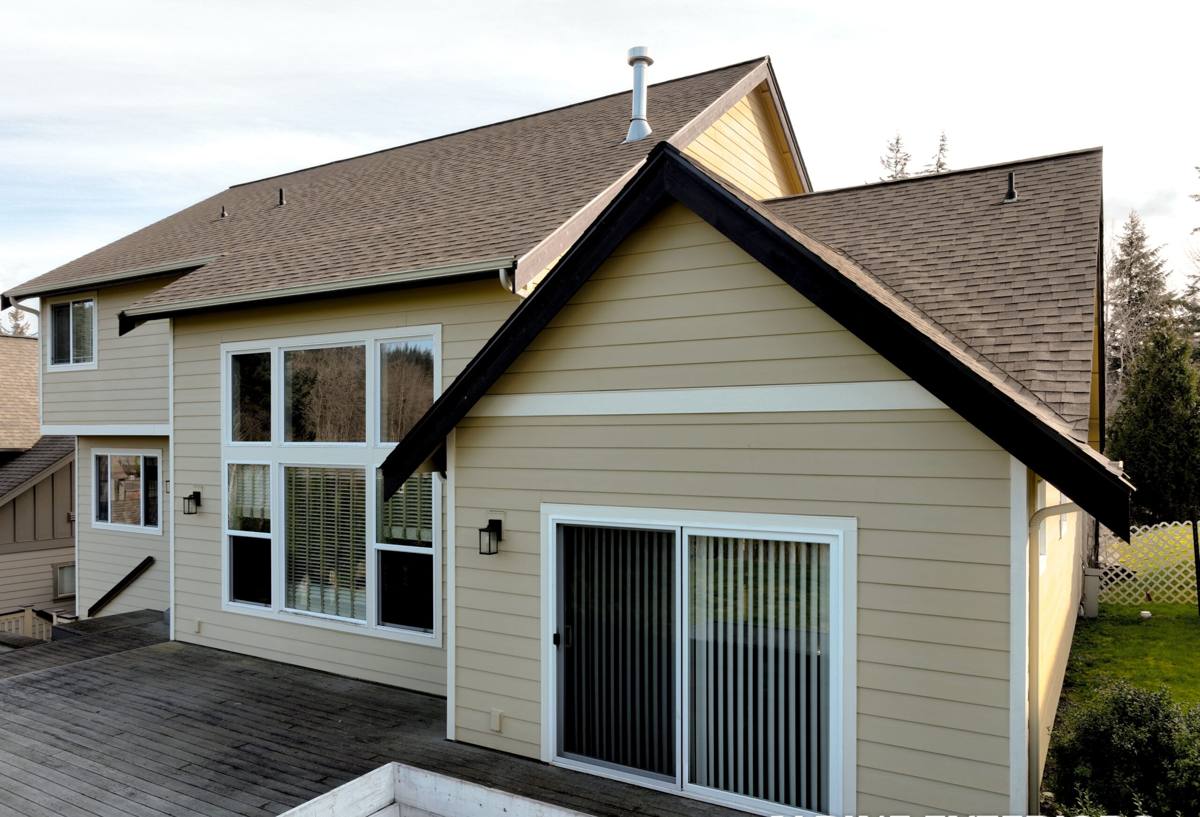
Why California Creek Siding Wears Differently
Three things drive most of the repair calls we see in this part of Blaine:
Salt Air
Airborne salt from the nearby water accelerates corrosion on anything metal — nail heads, flashing, trim fasteners. Once a fastener starts to rust, it loses its grip on the siding around it, and that's often the first crack in an otherwise sound wall. Salt exposure doesn't damage the siding material itself as much as it attacks the hardware holding it in place.
Driving Rain
Wind-driven rain doesn't just fall on siding, it gets pushed sideways into it — into laps, seams, corner boards, and anywhere caulking has started to fail. Over time that means water finds its way behind the siding rather than running off the face of it, which is where rot and sheathing damage actually start.
Extended Moss Season
Cool, damp, shaded conditions for much of the year give moss and algae a long runway to establish themselves on north-facing walls and anywhere siding stays wet longest. Moss holds moisture against the surface, which speeds up everything else on this list.
None of these three problems are dramatic on their own. Together, over several seasons, they're the reason a home that looked fine two years ago suddenly needs real repair work.
Common Siding Damage We See in This Area
| Damage Type | Likely Cause | Typical Fix |
|---|---|---|
| Rusted or popped fasteners | Salt air corrosion | Remove and refasten with corrosion-resistant hardware; replace damaged boards if the fastener failure let water in |
| Dark staining or moss growth | Extended damp/shade conditions | Clean, inspect underlying material, address the moisture source (shade, gutters, grading) so it doesn't return |
| Soft spots or visible rot | Wind-driven rain intrusion behind siding | Cut out and replace affected sections; check sheathing and house wrap before closing it back up |
| Cracked or failing caulk joints | UV exposure and seasonal movement | Remove old caulk fully and reseal with a proper exterior sealant, not just a bead over the crack |
| Impact damage (cracks, holes) | Storm debris, yard equipment, falling branches | Replace the individual board or panel; match finish so the repair doesn't stand out |
Signs Your Siding Needs Repair, Not Just a Cleaning
A pressure wash or a scrub can handle surface grime and light moss, but it won't fix underlying damage — and using pressure washing on already-compromised siding can push water further behind it. Here's what tells us a wall needs actual repair:
- Boards that feel soft, spongy, or flex when pressed
- Visible gaps at seams, corners, or around windows and doors
- Paint or finish that's bubbling, peeling, or discolored in a localized patch
- Rust streaks running down from fastener heads
- A musty smell near an exterior wall, or interior signs like peeling paint on the inside of that same wall
- Moss or algae that returns quickly after cleaning
- Any section of siding that's visibly out of alignment with the boards around it
If you're seeing more than one of these, it's worth a proper inspection before the damage spreads past the section you can already see.
What a Correct Repair Actually Involves
A lot of "siding repair" in this region is really just cosmetic patching — caulk over a gap, a quick paint touch-up, a board nailed back down without checking what's behind it. That approach might buy a season, but it doesn't address why the damage happened in the first place, and on a home exposed to this much salt and rain, it usually comes back.
A repair done right includes:
- Removing enough surrounding material to see the actual extent of the damage, not just the visible symptom
- Checking the house wrap, flashing, and sheathing behind the siding for moisture damage before anything new goes back on
- Replacing corroded fasteners with hardware rated for coastal exposure
- Reinstalling or replacing boards with correct overlap, gapping, and fastening — details that matter more in wind-driven rain than they do inland
- Matching the replacement material's color and profile so the repair blends into the rest of the wall
- Resealing joints with a sealant designed for exterior movement and UV exposure, not a generic caulk
Skipping any of these steps is how a $400 repair turns into a $4,000 repair two years later.
Repair vs. Replacement: How We Make the Call
Not every damaged section needs a full re-side, and we won't sell you one you don't need. But there's a point where patching stops making sense.
| Factor | Repair Usually Makes Sense | Replacement Should Be Considered |
|---|---|---|
| Extent of damage | Isolated to one or two sections | Spread across multiple walls or elevations |
| Underlying material | Structurally sound behind the damaged area | Sheathing or framing already showing rot |
| Age of siding | Well within its expected service life | Near or past the end of its realistic lifespan |
| Material match | Original material is still available or closely matchable | Discontinued color, profile, or product no longer manufactured |
| Pattern of failures | First repair call in years | Repeat repair calls in the same areas each season |
Repeat failures in the same spots are usually a sign of a systemic problem — drainage, ventilation, or a material that was never well suited to this climate — rather than bad luck.
Why We Only Repair and Install James Hardie Fiber Cement
We're a James Hardie-only contractor, which shapes how we approach repair work too. When we're asked to patch vinyl, LP SmartSide, cedar, or other fiber cement brands, we'll do honest work, but we're upfront about the trade-offs those materials carry in a climate like this one.
Vinyl can warp or crack in cold snaps and is difficult to color-match once it's faded from years of sun and salt exposure. Cedar and primed wood products need consistent maintenance to resist the rot that driving rain and moss season create, and a repair patch on wood siding often weathers differently than the surrounding boards. LP SmartSide and other engineered wood products are moisture-sensitive at cut edges and seams — exactly the areas most exposed to wind-driven rain in this location.
James Hardie fiber cement doesn't have those weaknesses. It's non-combustible, doesn't rot, and holds up to moisture exposure far better than wood-based products. Its factory-applied ColorPlus finish is baked on rather than painted after installation, which means repaired or replaced sections match far more consistently than field-painted materials, and it's backed by a strong, transferable warranty. When a repair calls for replacing a damaged section, or when repeated repairs point toward a full re-side, Hardie is what we install — and it's the product we'd put on our own homes in this climate.
Our Repair Process
- Inspection: We walk the exterior, identify every area of concern (not just the one you called about), and check for moisture behind the siding where damage is visible.
- Honest assessment: We tell you plainly whether it's a repair, a partial replacement, or something bigger — and why.
- Written estimate: Scope, materials, and cost laid out before any work starts. No surprise change orders for problems we should have caught up front.
- Repair work: Damaged material removed, underlying structure checked and addressed, new material installed to spec with corrosion-resistant fasteners and proper sealing.
- Finish match: Color and profile matched as closely as the original product allows, so the repair doesn't stand out from the rest of the wall.
- Final walkthrough: We show you what was done and what to watch for going forward.
Why Hiring a Crew That Already Works California Creek Matters
Siding repair here isn't the same job as siding repair in a sheltered inland neighborhood. A crew that regularly works this stretch of Whatcom County coastline already knows which fastener types hold up to the salt air, which wall orientations take the worst of the driving rain, and where moss tends to establish itself first. That's not something you learn from a manual — it's something you learn from doing the work on homes like yours, in this exact climate, repeatedly.
It also means fewer surprises during the job. A crew unfamiliar with coastal exposure might underestimate how much hardware has corroded, or miss that a "small" repair area is actually connected to a larger moisture problem behind the wall. Local experience shortens that learning curve and protects you from repairs that don't actually hold.
Get a Free Estimate
If you're seeing rust streaks, soft boards, persistent moss, or gaps in your siding, it's worth having someone look before another wet season makes the problem bigger. We offer free, no-pressure estimates for siding repair in California Creek and the surrounding Blaine area — reach out through the form below and we'll take an honest look at what your home actually needs.