 Blaine Siding
 Why Birch Bay Windows Wear Out Faster Than Most
Birch Bay sits right on the water, and that changes what a window has to survive day to day. Homes a few miles inland in Whatcom County deal with normal Pacific Northwest weather. Homes in Birch Bay deal with that same weather plus a steady dose of salt-laden air coming off the bay, wind-driven rain that hits siding and window trim at an angle instead of falling straight down, and long stretches of shade and dampness that keep moss and mildew active for most of the year. None of that is dramatic on its own, but stacked together over years, it's hard on window frames, seals, hardware, and the wood or trim around them.
Salt Air and Hardware
Salt in the air settles on everything, including window frames, screen hardware, and exterior fasteners. On aluminum and lower-grade vinyl components, that can mean pitting, corrosion, and hardware that gets stiff or fails years before it should. It's a slow process, so most homeowners don't notice until a lock won't turn smoothly or a frame starts to look chalky and pitted.
Driving Rain and Wind
Birch Bay gets exposed to wind off the water in a way that pushes rain sideways into window openings rather than letting it run harmlessly down the siding. That kind of wind-driven rain finds any gap in flashing, caulking, or trim and works its way behind the window over time. It's usually not one big leak — it's a slow intrusion that shows up as soft trim, staining on interior sills, or a musty smell long before anyone sees actual water on the floor.
Moss, Shade, and Moisture
Between tree cover on many Birch Bay lots and the region's long wet season, moss and algae get a real foothold on north-facing walls, trim, and anywhere sun doesn't reach for much of the day. Moss holds moisture against wood and trim far longer than open exposure would, which accelerates rot at the exact points — sills, corners, casings — where a window depends on that wood staying solid.
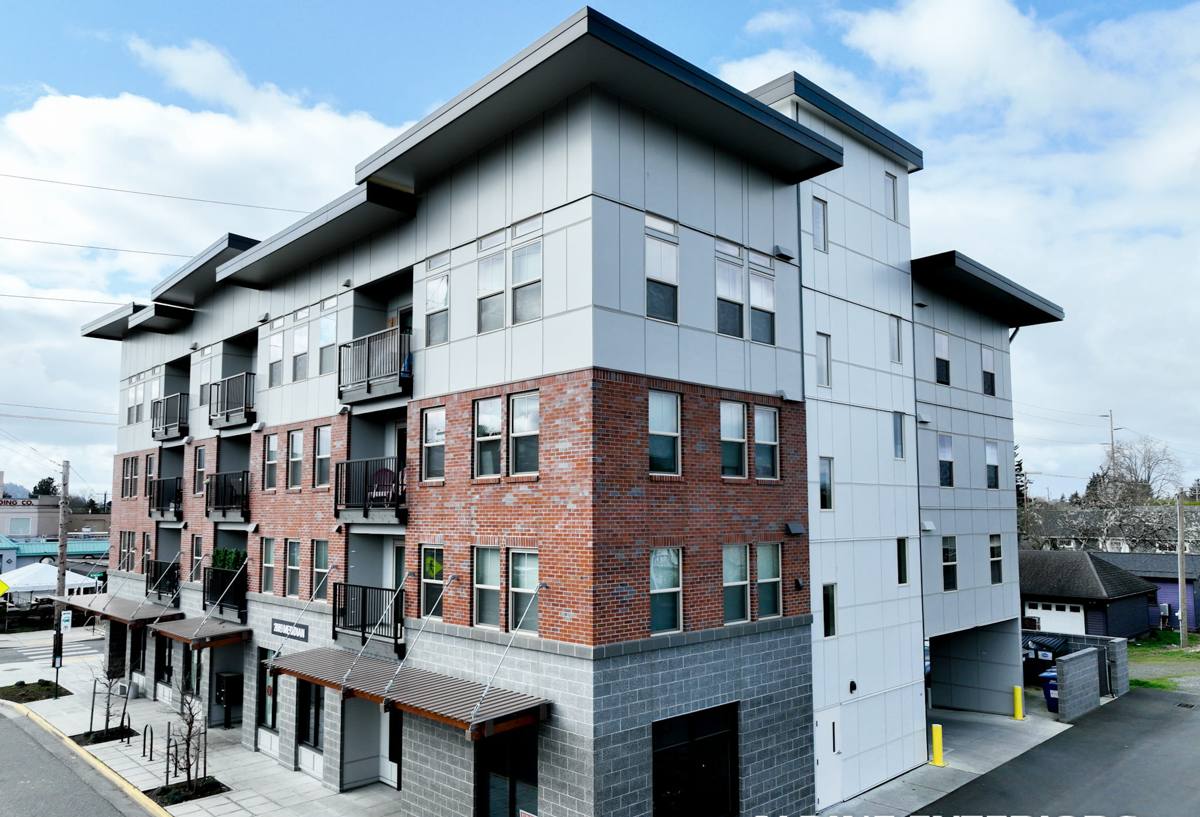
Signs a Birch Bay Home Needs New Windows
Most window problems here show up gradually. A few things worth checking before they turn into bigger repairs:
- Soft or spongy wood at the sill or bottom corners of the frame
- Fogging or moisture trapped between panes on double-pane units
- Windows that are hard to open, close, or lock, especially after damp weather
- Visible corrosion or chalky white residue on aluminum or metal hardware
- Drafts or a noticeable temperature difference near the window in winter
- Peeling paint or stained drywall on the interior wall below or beside a window
- Moss or dark staining building up on the exterior trim around the frame
- Rising heating bills without any other obvious cause
Any one of these can be minor. Two or three together on the same window usually means water has already been getting behind the frame for a while.
What a Correct Window Installation Actually Involves
Window installation looks simple from the outside — remove the old unit, put in the new one — but the parts that actually determine whether it holds up in a place like Birch Bay happen where you can't see them once the job is done.
Flashing and Water Management
The flashing around a window is what directs water down and away from the wall assembly instead of into it. In a wind-driven-rain environment, flashing has to be installed in the correct shingle-style order — each layer overlapping the one below it — with proper sill pan flashing at the bottom, which is the single most common weak point we find when we replace older windows near the water. Skipping or rushing this step is the number one reason a "new" window still leaks.
Sealing and Insulation
Once the window is set and shimmed level and square, the gap between the window frame and the rough opening needs to be sealed and insulated correctly — not just caulked on the outside and called done. A gap that's under-insulated creates a cold spot and condensation risk; a gap packed too tight with the wrong material can bow the frame and affect how the window operates.
Fastening and Structural Fit
The window needs to be shimmed and fastened so it's plumb, level, and square in the opening, with reveal gaps even on all sides. A window that's slightly out of square will bind, won't seal evenly, and puts uneven stress on the frame and glass over time — a problem that gets worse, not better, in a coastal climate that's already testing every seal.
Choosing the Right Window for a Coastal Whatcom County Home
There's no single "best" window for every Birch Bay home — it depends on your budget, how exposed the home is to wind and salt spray, and how much upkeep you want to take on. Here's how the common frame materials compare for this specific environment:
| Frame Material | Coastal Durability | Maintenance | Typical Trade-Off |
|---|---|---|---|
| Vinyl | Good — resists corrosion, won't rot | Low | Can expand/contract with temperature swings; quality varies a lot by manufacturer |
| Fiberglass | Very good — stable, resists warping and corrosion | Low | Higher upfront cost than vinyl |
| Wood-clad | Fair — clad exterior helps, but any breach exposes wood core | Moderate to high | Best interior appearance, but least forgiving of installation errors near salt air |
| Aluminum | Poor in direct salt exposure without upgraded coatings | Moderate | Prone to pitting and corrosion near the water over time |
For most homes directly along the Birch Bay shoreline, we steer people toward vinyl or fiberglass because they hold up to salt air with the least ongoing maintenance. We don't push wood-clad windows for homes with heavy direct wind and spray exposure — not because wood-clad is a bad product, but because any small gap in the cladding or finish gives moisture a way into the wood core, and that's a maintenance burden that's hard to justify a few hundred feet from the water.
Our Process for Window Installation in Birch Bay
- On-site assessment — We look at existing window condition, framing, flashing, and any signs of past water intrusion before quoting anything.
- Honest scope and estimate — You get a clear breakdown of what's being replaced, what materials we're using, and why, with no pressure to upgrade beyond what your home actually needs.
- Careful removal — Old windows come out without unnecessary damage to surrounding siding or trim, and we check the rough opening for rot or soft framing before anything new goes in.
- Repair before install — Any soft sill, damaged sheathing, or compromised framing gets fixed first. Installing a new window over bad framing just hides the problem.
- Correct flashing and sealing — Sill pan flashing, properly lapped house wrap or building paper, and appropriate sealants for this climate, every time.
- Final fit and adjustment — Every window is checked for level, square, smooth operation, and even reveals before we consider the job finished.
- Cleanup and walkthrough — We walk the job with you so you know exactly what was done and what to watch for going forward.
Cost Factors for Birch Bay Window Installation
Every home is different, so we won't quote a number without seeing the job, but these are the main things that move the price up or down:
| Factor | Effect on Cost |
|---|---|
| Number of windows replaced at once | Doing several together usually lowers the per-window cost |
| Frame material chosen | Vinyl is generally the most affordable; fiberglass and wood-clad cost more upfront |
| Condition of the existing rough opening | Rot or framing repair adds labor and material beyond the window itself |
| Window size and configuration | Larger units, bays, and custom shapes cost more than standard sizes |
| Access and site conditions | Second-story or hard-to-reach windows take more time and equipment |
| Old window removal and disposal | A minor line item, but it's part of an honest quote |
Be cautious of any quote that's dramatically lower than others for the same scope — it's a common sign that flashing, sill pan work, or proper insulation is being skipped to hit a price, which costs far more to fix later once water damage sets in behind the wall.
Why a Crew That Already Works Birch Bay Matters
Window installation done to code and done right for this specific location aren't always the same thing. A crew that mostly works inland jobs may install a technically fine window that still isn't set up to handle wind-driven rain coming straight off the bay, or salt air working on the wrong hardware over a few winters. Working this shoreline regularly means recognizing the difference between a window that's cosmetically fine and one that's already had water working behind the trim for a year or two, and knowing which materials and flashing details actually hold up here versus which ones look fine on paper but underperform once salt air and driving rain get to them season after season.
Protecting Your Investment After Installation
A correctly installed window still benefits from some basic upkeep in a Birch Bay environment:
- Rinse salt residue off frames and glass periodically, especially after storms
- Keep weep holes at the bottom of the frame clear of debris so water can drain out
- Check and clean moss or algae off surrounding trim before it spreads onto the frame
- Operate locks and hardware a few times a year so they don't seize from disuse
- Inspect exterior caulking annually and have gaps resealed before they widen
None of this takes much time, but it's the difference between a window that looks and performs well for decades and one that starts showing coastal wear within a few years.
If you're dealing with drafty, foggy, or hard-to-operate windows on a Birch Bay home, we're happy to take a look and give you a straightforward, no-pressure estimate — just fill out the form below.