 Blaine Siding
 Building New in Birch Point? The Windows Deserve the Same Attention as the Foundation
If you're framing a new home or a major addition on Birch Point, the window openings are one of the few places in the building envelope where you get exactly one good chance to do it right. Once siding and trim go on, any shortcuts in the window flashing or nailing fin installation are hidden until they show up years later as a stain on the drywall or soft trim around the frame. Birch Point sits right on the water, which means every window opening on this stretch of the coast is dealing with salt-laden air, wind-driven rain coming off the Strait, and a long, damp moss season that keeps siding and trim wet for weeks at a stretch. New-construction windows here need to be installed with that reality in mind from the very first opening, not adjusted for it later.
"New-construction" windows are a specific product category, not just a marketing term. They come with a nailing fin (sometimes called a nail flange) built into the frame, designed to be integrated into the wall's weather-resistive barrier during framing — before siding, before trim, before the house is closed in. Done correctly, this is the strongest, most watertight way to install a window. Done wrong, it's one of the most expensive mistakes to fix later, because correcting it means pulling siding and trim back off.
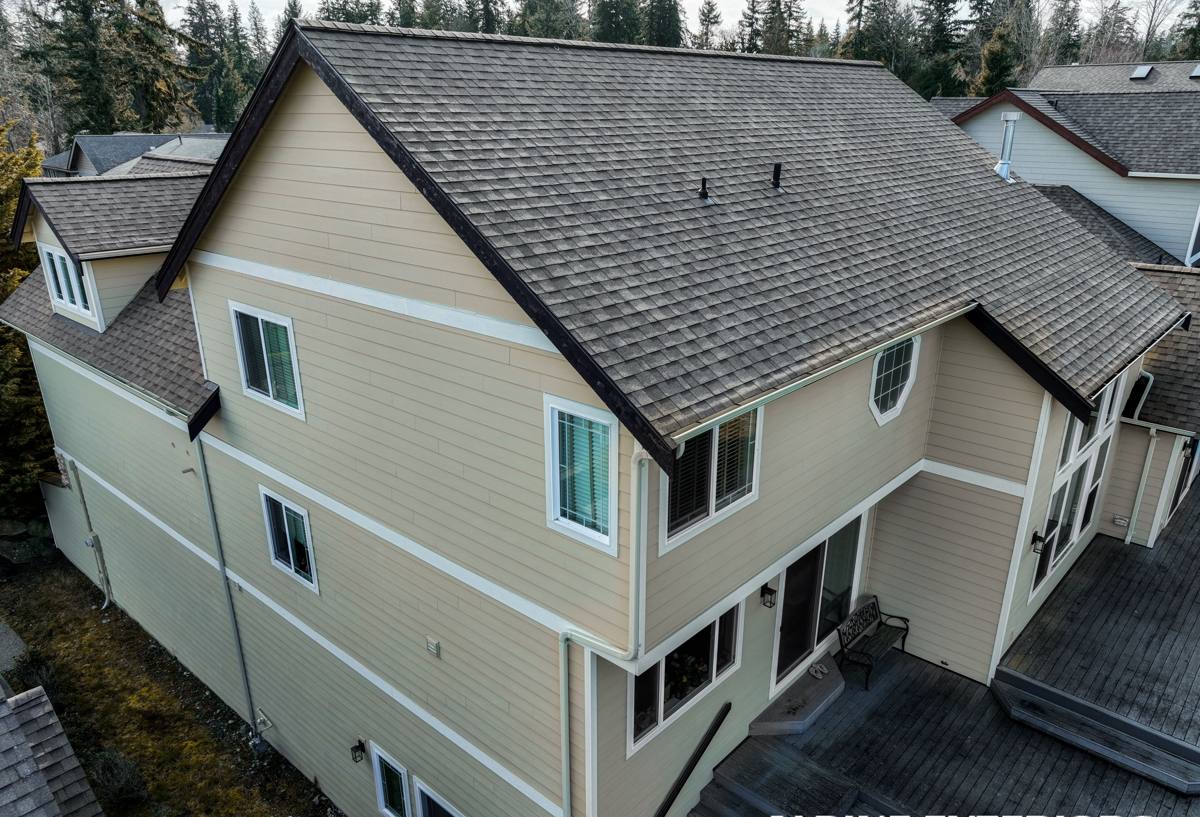
What Birch Point's Climate Actually Does to a Window Opening
Whatcom County's marine climate is generally mild, but "mild" doesn't mean gentle on a building. A handful of local conditions matter specifically for window installation:
- Wind-driven rain: Storms off the water don't just fall straight down — they push rain sideways into wall assemblies, which puts real pressure on flashing details at the head, jambs, and sill of every opening.
- Salt air: Airborne salt accelerates corrosion on unprotected fasteners, hardware, and some metal flashing products. Material choices at the window opening need to account for that exposure, not just inland-standard hardware.
- Extended moss and moisture season: Long stretches of damp, shaded weather keep exterior surfaces wet longer than a drier climate would. Any gap or reverse-lap in flashing gives moisture more time to work its way behind the cladding.
- Temperature swings between day and night on the water: These cause more condensation activity at glass and frame surfaces than a purely inland site would see, which is part of why glass package and frame material selection matter here.
None of this means a house on Birch Point needs exotic materials. It means the ordinary details — the sill pan, the flashing sequence, the sealant joints — have to be executed correctly every time, because the margin for a sloppy detail is thinner this close to the water.
What a Correct New-Construction Window Install Involves
The Sill Pan Comes First
Before a window ever goes into the rough opening, the sill needs a sloped, sealed pan — either a manufactured flashing pan or a properly built-up sealed membrane — so that any water that does get past the window has a way out instead of a place to collect. This is the single most-skipped step we see on framing sites, because it takes extra time and doesn't show once the window is in.
Flashing Sequence Matters More Than Flashing Tape Brand
The order matters: sill flashing goes down first, then the window's nailing fin, then jamb flashing over the fin, then head flashing last, integrated with the weather-resistive barrier above so water sheds down and over every layer below it — never trapped behind a reverse lap. A quality tape used out of sequence still leaks eventually.
The Nailing Fin Has to Be Fully and Correctly Fastened
Every manufacturer specifies fastener spacing and type for the nailing fin. Skipping fasteners to save time, or using the wrong fastener in a salt-air environment, weakens both the structural attachment and the long-term corrosion resistance of that connection.
Sealant Is a Backup, Not the Primary Barrier
Caulk and sealant around a new-construction window should be a secondary line of defense behind good flashing and shingle-lap technique — not the thing doing all the work. Installations that rely on sealant alone tend to fail first in a climate like Birch Point's, because sealant is the first material to degrade under constant UV, salt, and moisture cycling.
Choosing the Right Window for a Birch Point Build
Frame material, glass package, and hardware all interact with this site's exposure. There's no single "best" answer for every home — orientation, budget, and the style of the house all factor in — but here's how the common choices compare for a waterfront-adjacent Whatcom County build:
| Frame Material | Salt Air / Moisture Behavior | Maintenance | Typical Fit |
|---|---|---|---|
| Vinyl | Good corrosion resistance; won't rot or rust | Low — occasional cleaning | Cost-conscious new builds, rentals, additions |
| Fiberglass | Excellent — very stable in temperature swings and moisture, minimal expansion/contraction | Low | Homes prioritizing long-term durability near the water |
| Aluminum-clad wood | Good exterior protection if the cladding and joints are sealed correctly; interior wood needs upkeep | Moderate | Homeowners wanting a wood interior look with an engineered exterior |
| Bare wood | Most vulnerable to this climate without diligent, ongoing maintenance | High | Rare for direct water-exposed elevations here; better suited to sheltered sides of a home, if used at all |
For glass, a dual-pane, low-E package is the practical baseline for this region's temperature swings and energy performance. On elevations that take the brunt of wind-driven rain, we also pay closer attention to the window's design pressure (DP) rating, not just the glass — a window can have great glass and still be undersized for its wind exposure if the frame and hardware aren't rated for it.
How We Approach a Birch Point New-Construction Project
- Walk the plans with the builder or homeowner — confirm rough opening sizes, elevations most exposed to wind-driven rain, and any window schedule questions before ordering.
- Verify rough openings on site before windows arrive, so nothing gets forced or shimmed excessively at install.
- Install sill pans and flashing in the correct sequence, elevation by elevation, checking each opening before the next goes in.
- Set and fasten each window to manufacturer spec, checking for square, plumb, and level, and confirming operation before it's flashed over.
- Complete jamb and head flashing, tied into the weather-resistive barrier, so the whole assembly sheds water as one system rather than a window sitting in a hole.
- Document and photograph the flashing details before siding covers them — useful for the builder's records and for any future work on the home.
Mistakes We Regularly Get Called Back to Fix
A lot of our new-construction work in the Birch Point area comes from being brought in mid-build after a framing crew's window package didn't go as planned, or from homeowners calling a few years after move-in with a stain they can't explain. The recurring causes are almost always the same:
- No sill pan, or a pan that wasn't sloped to drain
- Flashing installed out of shingle-lap order, so water gets funneled behind a layer instead of over it
- Sealant used as the sole water barrier instead of a backup to proper flashing
- Fastener spacing skipped on the nailing fin to save time
- A window undersized for its wind exposure on a water-facing elevation
Every one of these is inexpensive to do correctly the first time and expensive to correct after siding and trim are already up.
Why Hiring a Crew That Already Works Birch Point Matters
Window installation standards exist on paper the same way everywhere. What changes site to site is how much margin for error the local climate leaves you. A crew that mainly works drier, inland conditions can install a technically adequate window that still isn't matched to what a Birch Point elevation will see over a moss season and a winter of wind off the water. Working this stretch of Whatcom County regularly means we already know which elevations on a typical Birch Point lot take the worst of the weather, which flashing details actually hold up here, and which corners genuinely can't be cut — because we're often the ones who get the callback when they were.
A Quick Checklist Before Your Windows Go In
- Rough openings verified against actual window sizes, not just the plan set
- Sill pan flashing specified and sloped to drain, on every opening
- Flashing sequence confirmed: sill, then fin, then jambs, then head
- Fastener type and spacing appropriate for salt-air exposure
- Frame material and glass package matched to the elevation's wind and rain exposure
- Design pressure rating checked against your most exposed elevations, not just code minimums
- Flashing photographed before siding covers it
If you're framing a new home, an addition, or a shop with living space on Birch Point, we're happy to walk the plans with you and talk through window selection and flashing details before the first opening is cut. Reach out for a free, no-pressure estimate — there's no obligation, and it's easier to get these decisions right before framing than after.